

Pouring latte art is one of those special extra touches that many coffee enthusiasts love to learn to do. It can be challenging to get that perfect pour, but with practice you can do it! Today we have a few secrets that will help you learn to pour latte art like the pros.
Use the Right Mug
Believe it or not, the mug you use for your coffee might be making it harder for you to pour latte art. While your favorite cafe may produce some wonderful art in a paper to-go cup, these narrower vessels are pretty tough to pour good art into. It's tough to see the art as you pour, and the smaller surface area means you have less time to pour your design.
Bowl-like cups like the NotNeutral Vero give you a larger surface area and let you get your pitcher closer to the surface of the milk to better control your pour. There are many other options out there like this one, you'll just want to look for something with a wider, bowl shape.
How to Practice Without Wasting Milk
The most expensive (and wasteful) part of learning to pour latte art is going through all of that milk. It can be frustrating to only get the chance to practice your pour when you make a latte, but you might not want to use milk that you aren't going to drink. Thankfully, there are some solutions.
First, a bit of dish soap and some water can help you practice the steaming and prep for your pour, as this mix will actually steam very similarly to milk. You can use this to practice developing your microfoam, though this mixture won't pour like milk (it tends to split), so you won't be able to practice actually producing your art.
That's where BCB drops can help. This product should also be added to water, but it will steam and pour much more like milk. It's an effective tool for practicing your pour even if it isn't 1:1 with real milk.
Stop the Wiggle!
Many newer latte enthusiasts like to wiggle their pitcher to create wider designs, but this can make your milk much harder to control. Instead, start by laying a foundation beneath the espresso. To do this, you'll pour from 3-5 inches up to give the milk enough velocity to get under the espresso. You'll then want to stop for a moment to let the milk spread under the espresso and fill the cup. Once you've taken a couple of breaths, you'll tilt the cup, get in as close as possible with the pitcher, then pour your design steadily.
Once you have these basics down you can add that wiggle back into your workflow to create more complex designs!
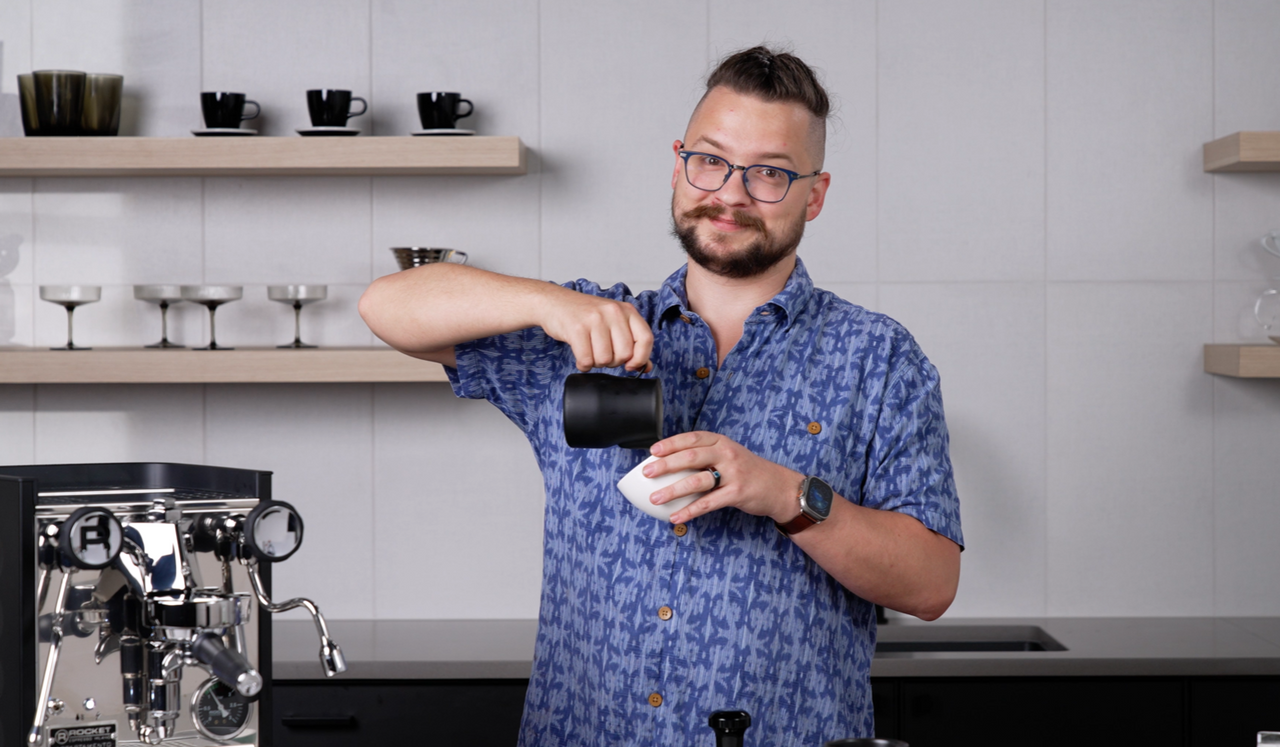
How to Hold Your Cup
You'll want to start with your cup at an angle so that you can more easily place the microfoam under the surface of the espresso. You'll then bring the cup level once it's abotu 3/4 of the way full, tilting again when you finally pour your design.
It's also important to consider where the handle is when you pour. If you are serving a right-handed coffee drinker you'll want to hold the cup with the handle facing you, and do the opposite for left-handed drinkers. This will ensure that the design is facing the right direction when they take a sip!
Beginner Latte Art Shapes
Don't try to learn the Rosetta first! Here's a great order to work through to learn how to pour your art:
- Monk's head
- Heart
- Simple tulip
- Winged heart
- Rosetta
For more advice you can check out the video below! Let us know how your latte art journey is going in the comments as well.